Which position sizing model fits you? A decision guide.
Knowing five sizing formulas is easy. Knowing which one to use on Monday morning is the hard part. A short guide to matching a sizing model to your stop distance, your edge and your temperament.
Most traders pick a position size by feel. Then a volatile stock with a wide stop shows up, the usual share count means a loss twice as big, and the account takes a hit nobody planned for.
This is the companion to our deep dive on the five sizing models, which explains how each formula works. This post answers: which one should I use, and when?
The problem: one setup, one share count, forever
A trader finds that buying 50 shares “works” and starts buying 50 shares of everything. On a stock with a €3 stop that is a €150 risk. On a stock with a €12 stop it is €600. Same habit, four times the risk.
Fixed share counts and fixed euro amounts ignore the number that decides how much a trade can hurt: the distance between entry and stop. Let that distance set the size.
Key concept: size is the output, not the input
You decide how much you can lose and where the idea is wrong. Size is what falls out. The models differ only in how much they let conviction, exposure caps and capital allocation bend that answer.
A sizing model is a rule for turning risk, stop distance and conviction into a share count. Pick the rule first, then apply it every time. Picking a size per trade is how discipline leaks.
Worked example: what happens when the stop moves
Same SAP trade as in the sizing deep dive: €100,000 portfolio, 1.2% max risk, 40% max exposure (€40,000), entry €205. Here is what the two simplest models do as the stop moves.
| Stop | Risk / share | Pure risk-based shares | Max loss | Exposure-based shares | Max loss |
|---|---|---|---|---|---|
| €197 (tight) | €8 | 60 | €480 | 48 | €384 |
| €188 (planned) | €17 | 28 | €476 | 48 | €816 |
| €171 (wide) | €34 | 14 | €476 | 48 | €1,632 |
Risk-based sizing keeps the loss near €480 whatever the stop. Exposure-based sizing keeps the position the same and lets the loss swing from €384 to €1,632.
- Situation: the same idea with three different stop placements.
- Decision: a model that reacts to stop distance buys less when the idea needs more room.
- Outcome: account risk stays constant wherever the stop sits.
Comparison: which model for which trader
| Model | Reacts to stop distance? | Best for | Watch out for |
|---|---|---|---|
| Pure Risk-Based | Yes, fully | New to systematic trading; rebuilding discipline | Tiny positions on very wide stops |
| Conviction-Adjusted | Yes, and shrinks when rules disagree | Rule-based traders with several indicators | Only as good as the rules and weights behind it |
| Exposure-Based | No | Equal-weight watchlists, simple routines | Risk drifts with every stop you choose |
| EV-Scaled | Partly | Traders with a real track record | Scaling up on a lucky streak |
| Aggressive | No | Concentrated, high-conviction investing | Drawdowns, by design |
Common mistakes
- Changing the model per trade. It turns a rule into a mood. Choose one default and change it deliberately, on paper, rarely.
- Sizing from the position you want, not the risk you accept. If the share count came first, the stop was an afterthought.
- Using an exposure model with wide stops. Each wide stop silently multiplies your risk.
- Scaling up after a win streak. Confidence is not edge. Let the data justify a larger multiplier.
- Ignoring fees on small positions. A position so small that costs eat the edge is also a mistake.
A framework you can use tomorrow
- Set the budget. Max risk per trade (for example 1% of capital) and a max exposure per symbol.
- Choose a default model. If you are unsure, start with Pure Risk-Based or Conviction-Adjusted.
- Place the stop first. Where is the idea wrong? Only then compute size.
- Check the three outputs. Maximum loss, portfolio risk %, and whether the position fits your exposure cap.
- Review quarterly. Compare results by model before switching.
How Krino helps
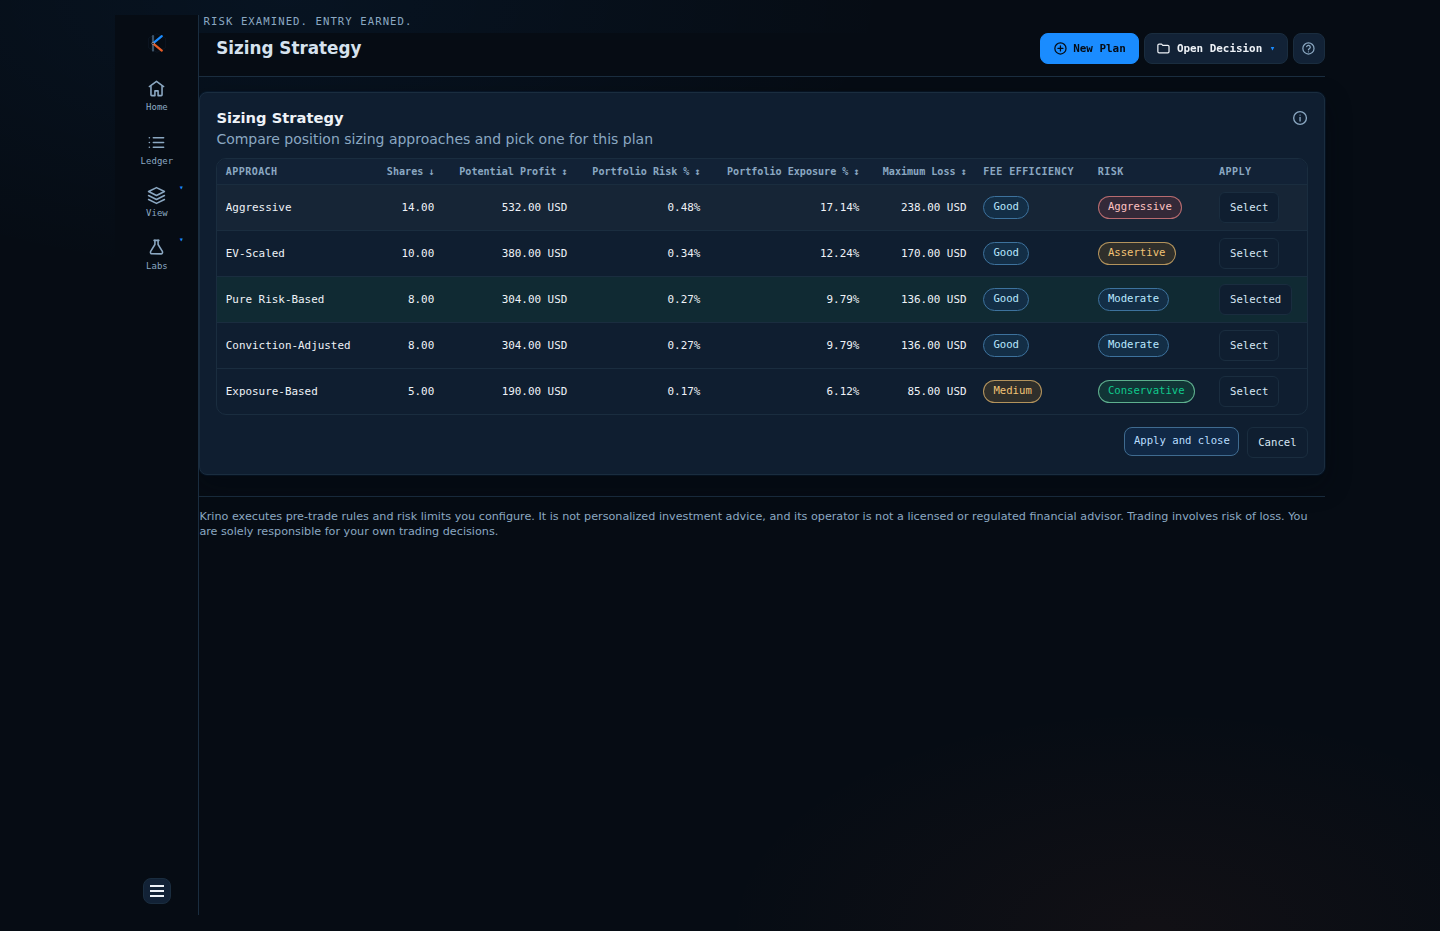
Krino computes every model side by side for the same trade, so the stop-distance effect above is visible before you commit. It also checks the result against your account and per-symbol risk budget, and records the choice in the plan so you can audit it later.
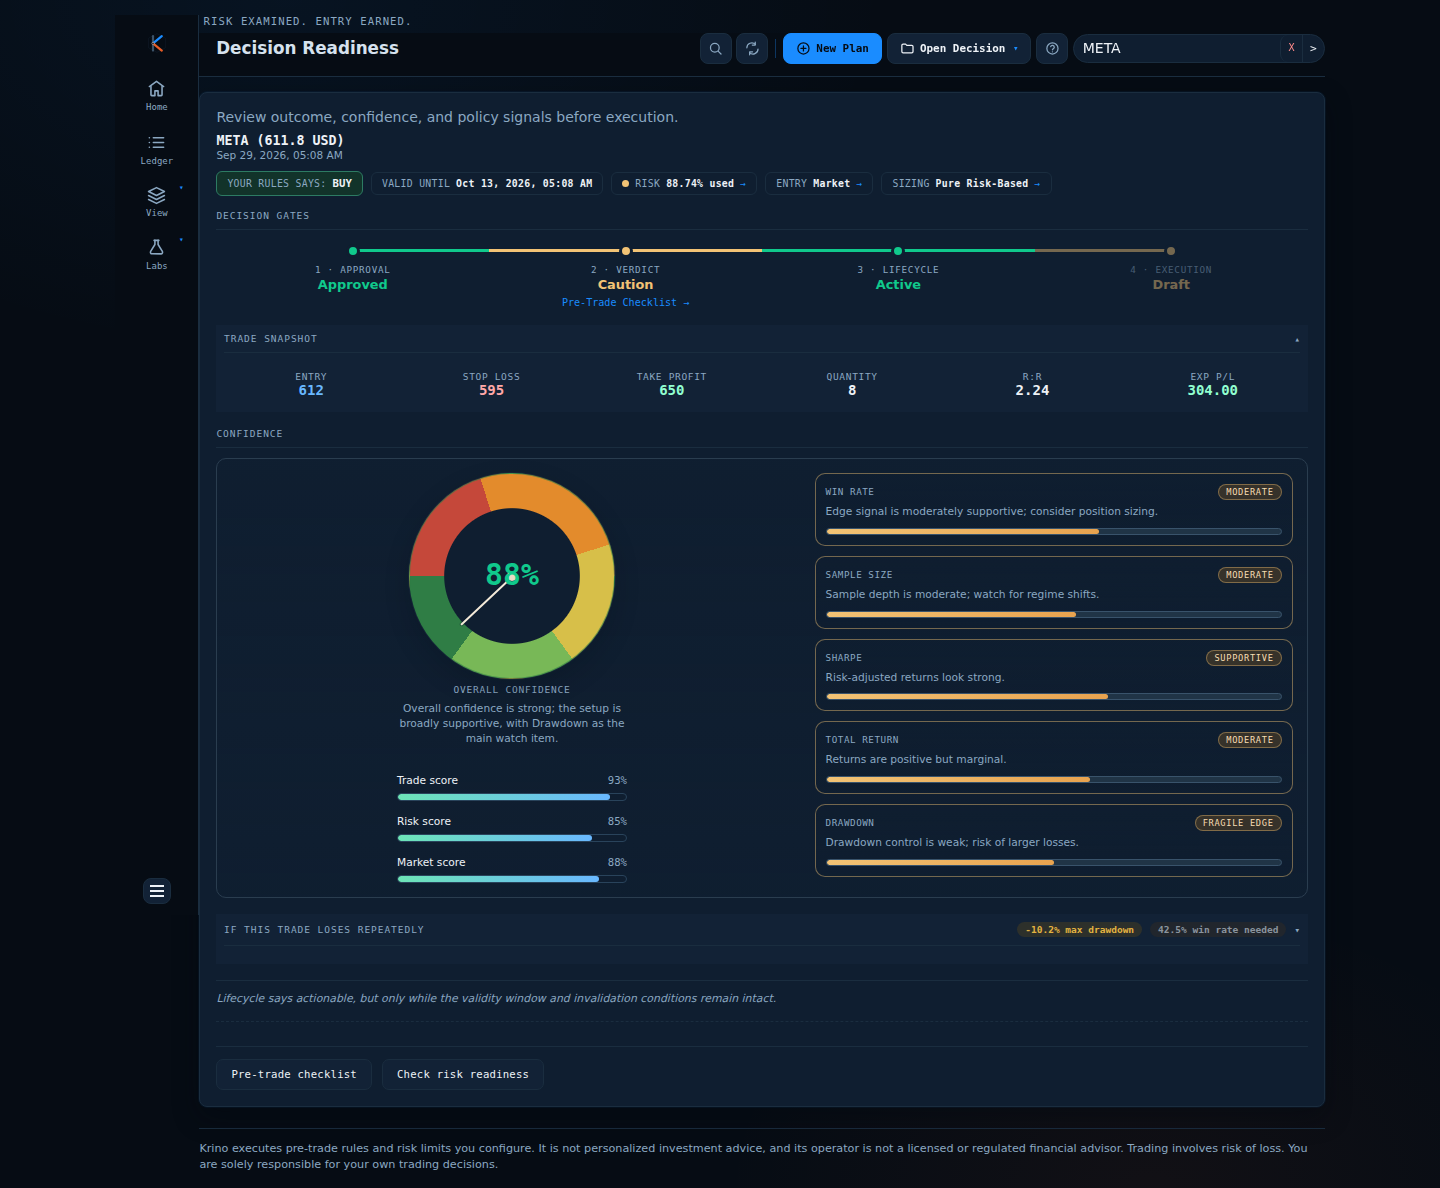
Compare the models on a real plan.
The demo opens Sizing Strategy for a META plan: shares, money at risk and a risk badge per model. No signup, no email, no card.
Quick start checklist
- Write down your max risk per trade as a percentage of capital.
- Write down your max exposure per symbol.
- Pick one default sizing model and note why.
- Always place the stop before computing size.
- Record maximum loss in euros next to every order.
- Re-check the share count when the stop moves.
The question that actually matters
Instead of asking “how many shares do I usually buy?” ask “what size makes this stop-out acceptable?” Choose a default model this week, apply it to your next five trades, and compare maximum loss, not profit.
Pick your model on paper first.
Try each model on a sample trade and see which one you could hold through a loss. No signup needed.
Krino executes rules and risk limits you configure. It is not personalized investment advice. Trading involves risk of loss. You are solely responsible for your own trading decisions. The worked examples in this article use illustrative prices and demo data, not a recommendation or real market data.